

Hey there! I'm a supplier of knitted tank vests, and today I'm gonna share with you how to dye a knitted tank vest. Whether you're looking to revamp an old vest or add a personal touch to a new one, dyeing is a fun and cost - effective way to do it.
1. Preparing Your Materials
First things first, you'll need to gather all the necessary materials. You'll need a knitted tank vest, of course. If you're interested in our range of vests, we have some great options like the Cropped Knit Sweater Vest, Women's Fitted Sweater Vest, and Cropped Ladies Vacation Vest.
Apart from the vest, you'll need fabric dye. There are different types of fabric dyes available, such as natural dyes and synthetic dyes. Synthetic dyes are usually more color - fast and easier to work with. You'll also need a large pot for dyeing, some rubber gloves to protect your hands, a stirring stick, and salt (if using certain types of dyes).
2. Pre - treating the Vest
Before you start dyeing, it's important to pre - treat the knitted tank vest. Wash the vest in warm water with a mild detergent to remove any dirt, oils, or sizing that might be on it. This will help the dye to penetrate the fibers more evenly. Rinse it thoroughly and squeeze out the excess water, but don't wring it too hard as you don't want to damage the delicate knitted structure.
3. Choosing the Dye Color
The color you choose for your dye is completely up to your personal preference. You can go for a single solid color, or you can get creative and do a tie - dye or ombre effect. If you're using a synthetic dye, make sure to follow the instructions on the package regarding the mixing ratio of the dye powder and water.
For a solid color, dissolve the dye in hot water in the large pot according to the package directions. Add salt to the dye bath if the instructions recommend it. Salt helps the dye to bond better with the fabric.
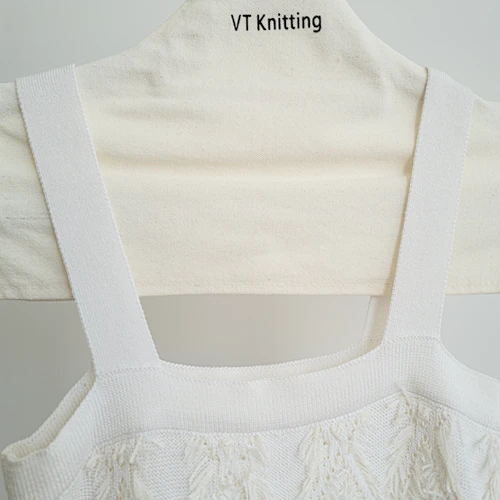

4. Dyeing the Vest
Put on your rubber gloves and carefully lower the pre - treated knitted tank vest into the dye bath. Use the stirring stick to move the vest around in the dye, making sure that all parts of the vest are evenly submerged. Keep stirring for about 10 - 20 minutes, depending on how dark you want the color to be. The longer you leave the vest in the dye, the darker the color will be.
If you're doing a tie - dye or ombre effect, there are different techniques you can use. For tie - dye, you can use rubber bands to tie up the vest in different patterns before dipping it into the dye. This will create unique patterns when the rubber bands are removed. For an ombre effect, you can gradually lower the vest into the dye bath, starting from the bottom and slowly moving it up, so that the color fades from dark to light.
5. Rinsing and Washing the Vest
Once you're satisfied with the color of the vest, carefully lift it out of the dye bath using the stirring stick. Hold the vest over the pot to let the excess dye drip back into the pot. Then, rinse the vest under cold running water until the water runs clear. This might take a few minutes.
After rinsing, wash the dyed vest in warm water with a mild detergent. This will remove any remaining dye and set the color. Rinse it again thoroughly and squeeze out the excess water gently.
6. Drying the Vest
Lay the dyed knitted tank vest flat on a clean towel to dry. Avoid hanging it up as this can cause the vest to stretch out of shape. You can gently reshape the vest while it's still damp to make sure it looks its best.
7. Tips and Tricks
- Test the dye first: Before dyeing the whole vest, it's a good idea to test the dye on a small, inconspicuous area of the vest. This will help you see how the color turns out and if there are any issues with the dyeing process.
- Use a color - catcher sheet: If you're worried about the dye bleeding during the washing process, you can add a color - catcher sheet to the washing machine. This will absorb any excess dye and prevent it from staining other clothes.
- Be patient: Dyeing takes time, especially if you're going for a very dark color. Don't rush the process, and make sure to follow the instructions on the dye package carefully.
8. Conclusion
Dyeing a knitted tank vest is a great way to give it a new look and make it truly unique. Whether you're a DIY enthusiast or just looking to add some color to your wardrobe, this process is relatively easy and fun.
If you're interested in purchasing high - quality knitted tank vests for your own dyeing projects or for resale, we're here to help. We offer a wide range of styles and colors to choose from. Feel free to reach out to us to discuss your procurement needs and start a great business relationship.
References
- Fabric Dyeing Basics: A Guide for Beginners. Textile Arts Magazine.
- Knitted Fabric Care and Dyeing. Journal of Textile Manufacturing.